READING TIME
How to remove silicone sealant properly?
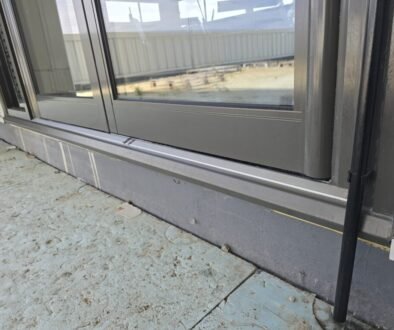
Old silicone sealant can become mouldy, discoloured, cracked, or start pulling away from surfaces over time. Removing it properly is one of the most important steps before applying new sealant.
While it may look simple, rushing the removal process can leave residue behind and affect the finish and performance of new silicone.
Why Proper Sealant Removal Matters
New silicone bonds best to clean, prepared surfaces.
If existing sealant has reached the end of its life, our bathroom resealing service may help restore a clean and lasting finish.
If old sealant remains in place, it can lead to:
- Poor adhesion
- Uneven finish lines
- Trapped moisture
- Shorter sealant lifespan
- Visible imperfections
Good preparation often has a bigger impact than the application itself.
What Tools Are Commonly Used to Remove Silicone Sealant?
Removing silicone is usually easier with the right preparation and suitable tools.
Commonly used items include:
- A sealant removal tool
- Plastic scraper
- Heavy duty utility knife (used carefully – prefered by most mastic man)
- Cleaning cloths
- Silicone residue remover (where appropriate)
Different surfaces and conditions may require different approaches, so care should always be taken to avoid damaging surrounding finishes.
The goal is not only to remove visible silicone but also to prepare a clean surface before resealing.
Step 1: Loosen the Existing Sealant
Start by carefully lifting one edge of the old silicone.
Work slowly and avoid damaging surrounding surfaces.
Depending on age and condition, some sealant may remove in long sections while other areas may break away in smaller pieces.
Step 2: Remove Remaining Residue
After removing the main section, inspect the surface closely.
Small traces of silicone can remain attached and may affect how new sealant performs.
Take time to remove leftover residue and create a clean, even surface.
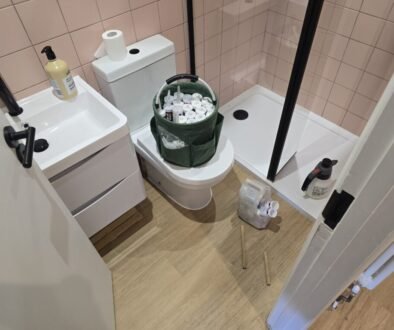
Step 3: Clean and Prepare the Area
Once the sealant has been removed:
- Clean away dust and loose material
- Ensure the area is completely dry
- Check for hidden mould or moisture
- Allow surfaces to fully dry before resealing
Preparation helps create a cleaner and longer-lasting finish.
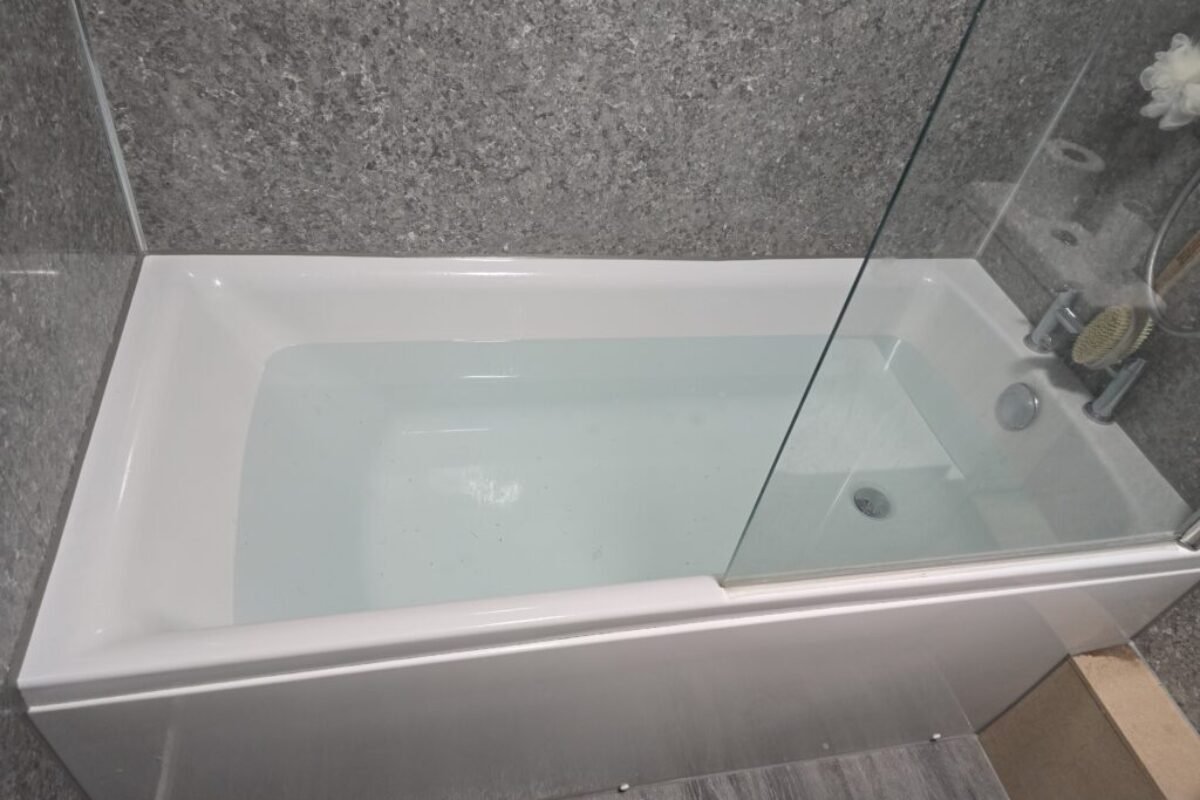
Step 4: Inspect Before Applying New Silicone
Before replacing sealant, check for:
- Surface damage
- Movement in joints
- Water ingress
- Areas that may need further attention
Applying fresh silicone over unresolved issues can shorten performance.
Areas exposed to regular moisture may benefit from professional shower resealing.
Common Mistakes When Removing Silicone
Avoid these common issues:
- Leaving old silicone behind
- Applying new sealant too quickly
- Working on damp surfaces
- Focusing only on appearance instead of preparation
A neat finish usually starts long before the new sealant is applied.
Should You Remove All Old Silicone?
In most situations, removing old silicone completely provides the best opportunity for a clean and durable result.
If mould, lifting, cracking, or deterioration is already present, covering over existing sealant often leads to recurring issues.
Learn more about whether new silicone should be applied over old sealant.
Need Advice About Replacing Sealant?
If you’re unsure whether existing sealant should be removed or replaced, get in touch and provide a few details or photos for advice.