READING TIME
How to make silicone sealant last longer
Silicone sealant is designed to provide a flexible, waterproof seal, but its lifespan depends on more than just the quality of the product. Everyday habits, cleaning methods, and moisture levels all affect how long it stays in good condition.
While no sealant lasts forever, proper care can help keep it looking clean and performing well for many years.
Keep Bathrooms Well Ventilated
Excess moisture is one of the biggest causes of mould and premature sealant deterioration.
After showering or bathing:
- Open a window where possible.
- Use an extractor fan during and after use.
- Leave the bathroom door open to improve airflow.
- Wipe away heavy condensation from walls and glass.
Reducing moisture helps create an environment where mould is less likely to develop.
Clean Sealant Regularly
Soap residue, body oils, and shampoo can build up on silicone over time.
Cleaning the sealant with a soft cloth and a mild bathroom cleaner helps remove this build-up before it becomes a problem.
Avoid allowing dirt and residue to remain on the surface for long periods.
Avoid Harsh Cleaning Products
Strong chemicals and abrasive cleaning pads can damage silicone and reduce its flexibility.
Instead:
- Use non-abrasive bathroom cleaners.
- Avoid metal scourers.
- Test unfamiliar cleaning products on a small area first.
- Follow the manufacturer’s instructions.
Gentle cleaning is usually more effective over the long term than aggressive scrubbing.
Dry Wet Areas After Use
Standing water keeps silicone constantly exposed to moisture.
Taking a few seconds to wipe around shower trays, baths, and worktops after use can help reduce prolonged dampness and slow the growth of mould.
Check Sealant Every Few Months
Small problems are much easier to deal with than major failures.
Look for signs such as:
- Small gaps
- Cracks
- Peeling edges
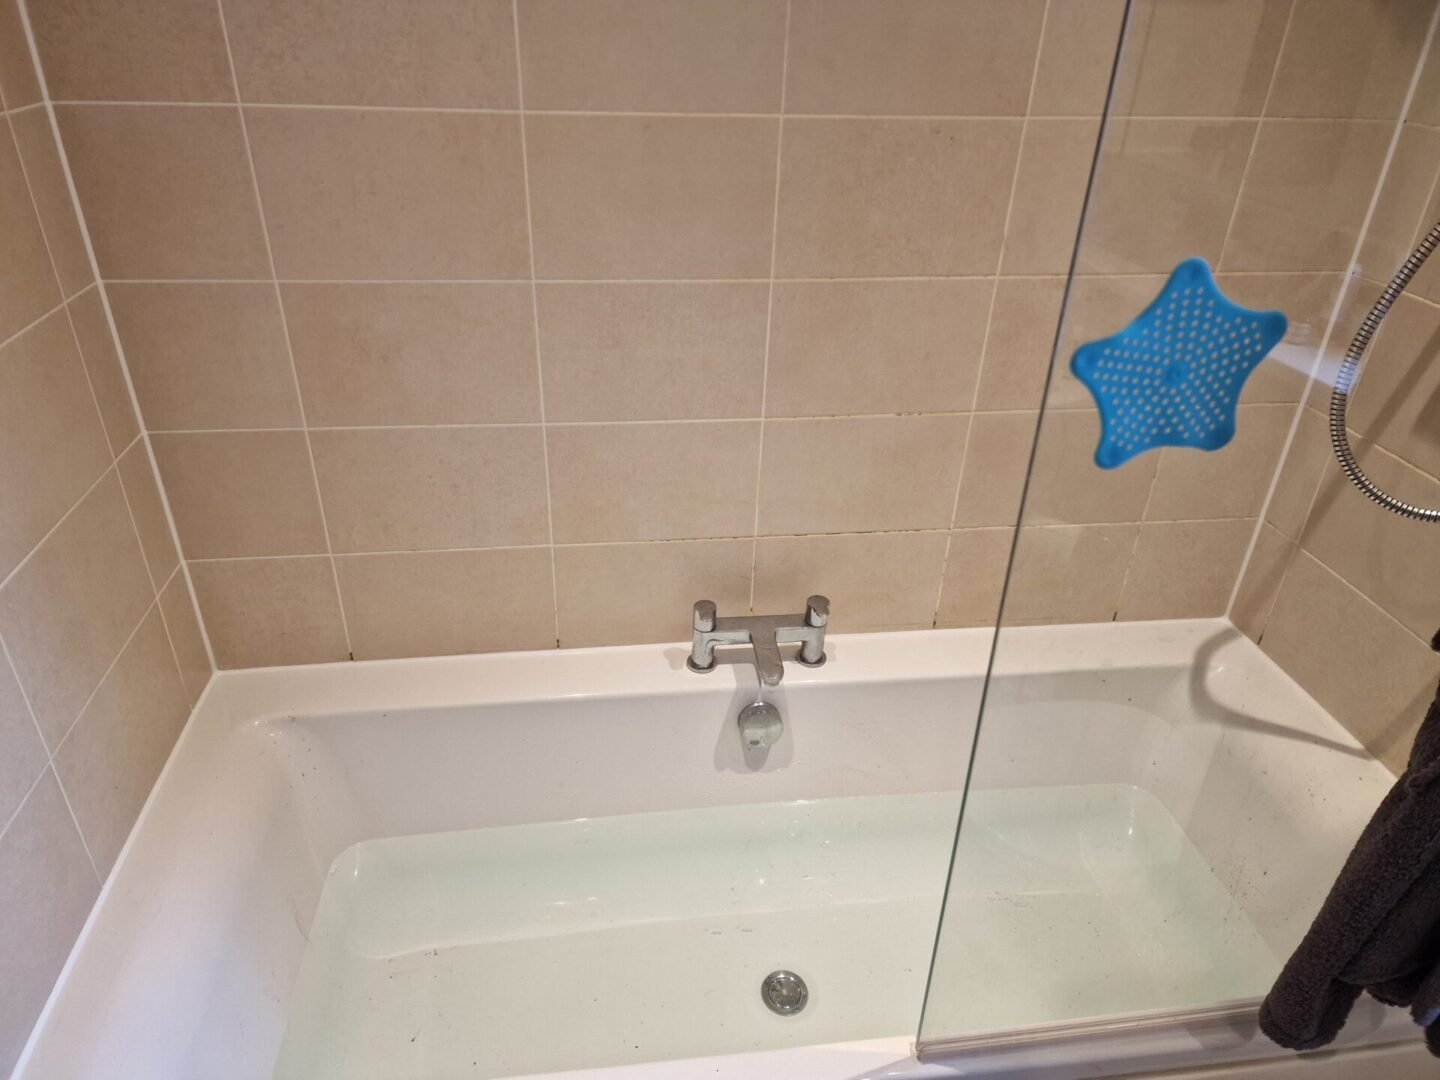
- Mould that won’t clean away
- Areas beginning to lift
Spotting these issues early helps you decide whether maintenance or replacement is needed.
Don’t Ignore Early Signs of Failure
Many people continue using damaged sealant for months because the problem appears minor.
However, small gaps can allow moisture to reach surrounding materials, increasing the risk of damage behind tiles, shower trays, worktops, or window frames.
Replacing failing sealant early is often simpler than waiting until larger repairs become necessary.
Use the Right Sealant for the Environment
Bathrooms, kitchens, external joints, and commercial buildings all have different requirements.
Using a high-quality silicone that’s suitable for the specific environment improves durability and helps the sealant perform as intended.
Is Mould Always a Sign the Sealant Needs Replacing?
Not necessarily.
Surface mould can often be removed if the sealant is still securely bonded and in good condition.
However, if mould repeatedly returns, the sealant has become damaged, or the silicone is lifting away from the surface, replacement is usually the better long-term solution.
When Should Silicone Be Replaced?
Even with good care, silicone eventually reaches the end of its service life.
Replacement is recommended if you notice:
- Persistent mould
- Cracks or splits
- Peeling edges
- Separation from surrounding surfaces
- Water escaping around baths, showers, sinks, or windows
Installing new sealant restores both appearance and protection.
Looking after silicone sealant doesn’t require expensive products or complicated maintenance.
Keeping surfaces clean, reducing moisture, checking for early signs of wear, and dealing with problems before they worsen can significantly extend the life of your sealant.
When silicone eventually reaches the end of its lifespan, replacing it properly helps maintain a clean finish and reliable waterproof protection.