In this article....
How to Reseal a Bath: Step-by-Step Guide to Replacing Bath Silicone
A bath can look perfectly fine until you notice the silicone around the edge has started to split, lift or turn black. It may seem like a small cosmetic problem, but once the seal is no longer watertight, moisture can work its way behind the bath and into surrounding materials.
Knowing how to reseal a bath properly can help prevent those problems and leave the bathroom looking fresh again.
The process itself isn’t particularly complicated, but the preparation matters. Removing the old silicone, cleaning the surfaces thoroughly and applying the new sealant correctly will usually make far more difference than simply buying a good tube of silicone.
When Does a Bath Need Resealing?
Bath sealant doesn’t last forever. Over time, repeated exposure to water, cleaning products and movement can cause the silicone to deteriorate.
You may need to reseal your bath if you notice:
- Cracks or splits in the silicone
- Gaps between the bath and wall
- Silicone pulling away from either surface
- Persistent black mould or staining
- Shrinkage around corners
- Water escaping beneath the seal
- Sealant that has become hard, brittle or damaged
A small gap can become a bigger problem surprisingly quickly, particularly if water is regularly getting behind the seal.
If you’re unsure whether replacement is necessary, our guide to the top signs it’s time to replace your silicone sealant covers the warning signs in more detail.
Why Does Bath Silicone Fail?
There are several reasons why sealant around a bath can deteriorate.
Movement
A bath isn’t completely rigid. When someone gets in, the weight can cause slight movement, particularly with acrylic baths.
If the bath moves significantly against the surrounding wall or tiles, the silicone joint has to accommodate that movement. Eventually, it can stretch, crack or separate.
Moisture
Silicone around a bath is exposed to water almost every day. Constant moisture won’t necessarily cause good silicone to fail quickly, but a damaged or poorly bonded joint can deteriorate much faster.
Poor Surface Preparation
One of the most common reasons for sealant failure is applying new silicone to a dirty, damp or contaminated surface.
Soap residue, grease, dust and traces of old sealant can all interfere with adhesion.
Age
Even a well-applied seal eventually reaches the end of its useful life. Regular use, cleaning and exposure to moisture gradually take their toll.
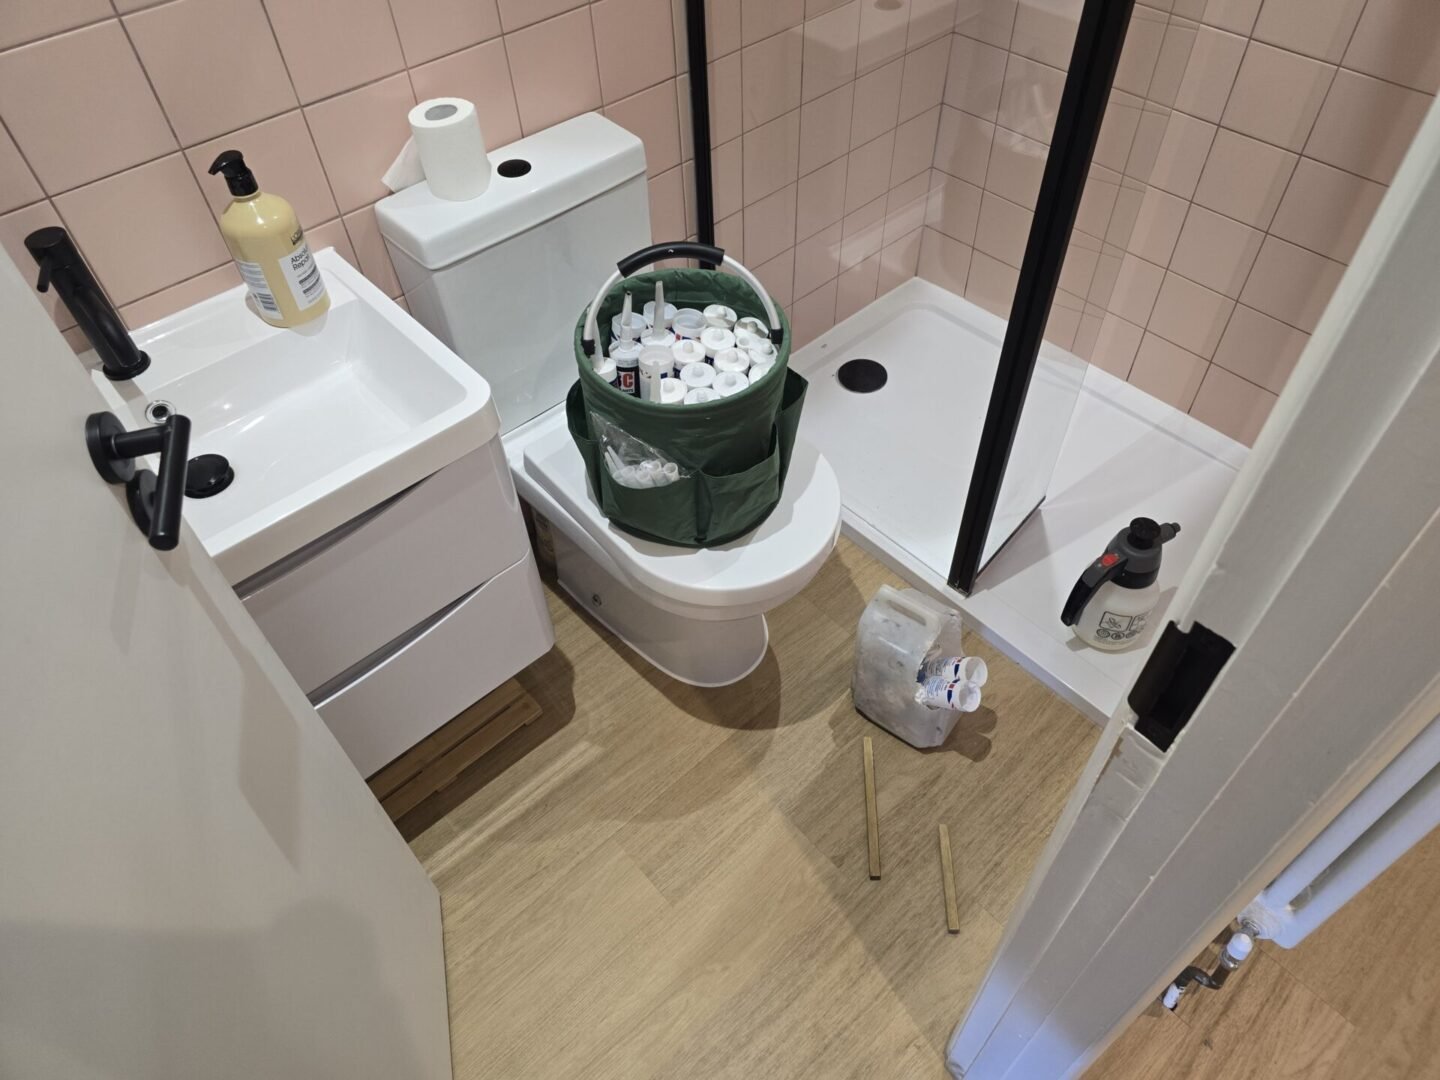
What Do You Need to Reseal a Bath?
Before starting, it’s worth having everything ready.
You will generally need:
- A suitable sanitary-grade silicone sealant
- A sharp sealant removal tool or scraper
- Silicone smoothing tool
- Cleaning materials
- Suitable surface cleaner
- Masking tape, if required
- A sealant gun
- A sprayer containing a 50/50 mixture of water and washing up liquid. (Fairy is the recommended washing-up liquid.)
Choose a silicone designed for bathrooms and areas exposed to moisture. The product should be suitable for the surfaces you’re sealing and appropriate for the conditions in which it will be used.
How to Reseal a Bath Step by Step
1. Remove the Old Silicone
Start by removing as much of the existing silicone as possible.
Carefully cut along the edges of the old seal with a suitable removal tool or sharp blade, taking care not to damage the bath, tiles or surrounding surfaces.
Once the main bead has been removed, check carefully for smaller pieces that may still be stuck to the surface.
Don’t be tempted to leave large sections of old silicone in place simply because they appear sound. New silicone generally doesn’t bond reliably to old silicone.
For more help with this stage, see how to remove silicone sealant.
2. Clean the Surfaces Thoroughly
This is one of the most important stages.
Remove remaining residue and clean the surfaces so they are free from silicone, dust, soap deposits, grease and other contaminants.
The surfaces also need to be properly dry before applying the new sealant.
If moisture remains trapped beneath the new silicone, adhesion can be compromised and the joint may fail sooner than expected.
3. Check the Bath and Surrounding Surfaces
Before applying new silicone, take a moment to inspect the area.
Look for:
- Movement between the bath and wall
- Damaged tiles
- Gaps or uneven surfaces
- Signs of water damage
- Areas where moisture may already have penetrated
If there is significant movement or underlying damage, simply applying new silicone may not solve the problem.
4. Apply Masking Tape if Needed
Masking tape can help create a cleaner edge and make the application easier, particularly if you’re less experienced with sealant.
Apply the tape consistently along the surfaces either side of the joint, leaving the required width exposed for the silicone.
Don’t leave the tape in place until the silicone has cured. It should generally be removed while the sealant is still workable.
5. Apply the Silicone
Cut the nozzle of the silicone cartridge at an appropriate angle and make an opening that suits the size of the joint.
Load the cartridge into the sealant gun and apply a continuous bead along the joint.
Try to maintain steady pressure rather than repeatedly stopping and starting. A consistent bead will be much easier to tool neatly.
Take your time around corners and transitions.
6. Tool the Sealant
Once the silicone has been applied, it needs to be tooled to create the final shape.
Use a suitable smoothing tool and work along the joint with controlled, even pressure.
The objective is to create a continuous seal without leaving ridges, gaps or excessive silicone on the surrounding surfaces.
This is often the stage where the difference between a rushed DIY job and a professional finish becomes most noticeable.
For additional guidance, see how to apply silicone sealant neatly.
7. Remove the Masking Tape
If you’ve used masking tape, remove it carefully while the silicone is still workable.
Pull the tape away cleanly rather than dragging it through the fresh seal.
Inspect the joint afterwards and make any necessary minor adjustments before the silicone begins to skin over.
8. Allow the Silicone to Cure
Don’t immediately use the bath or expose the new seal to large amounts of water.
Silicone needs time to cure properly, and the manufacturer’s instructions should always take priority because curing times vary between products and conditions.
Keep the area dry for the recommended period.
Should You Fill the Bath Before Sealing It?
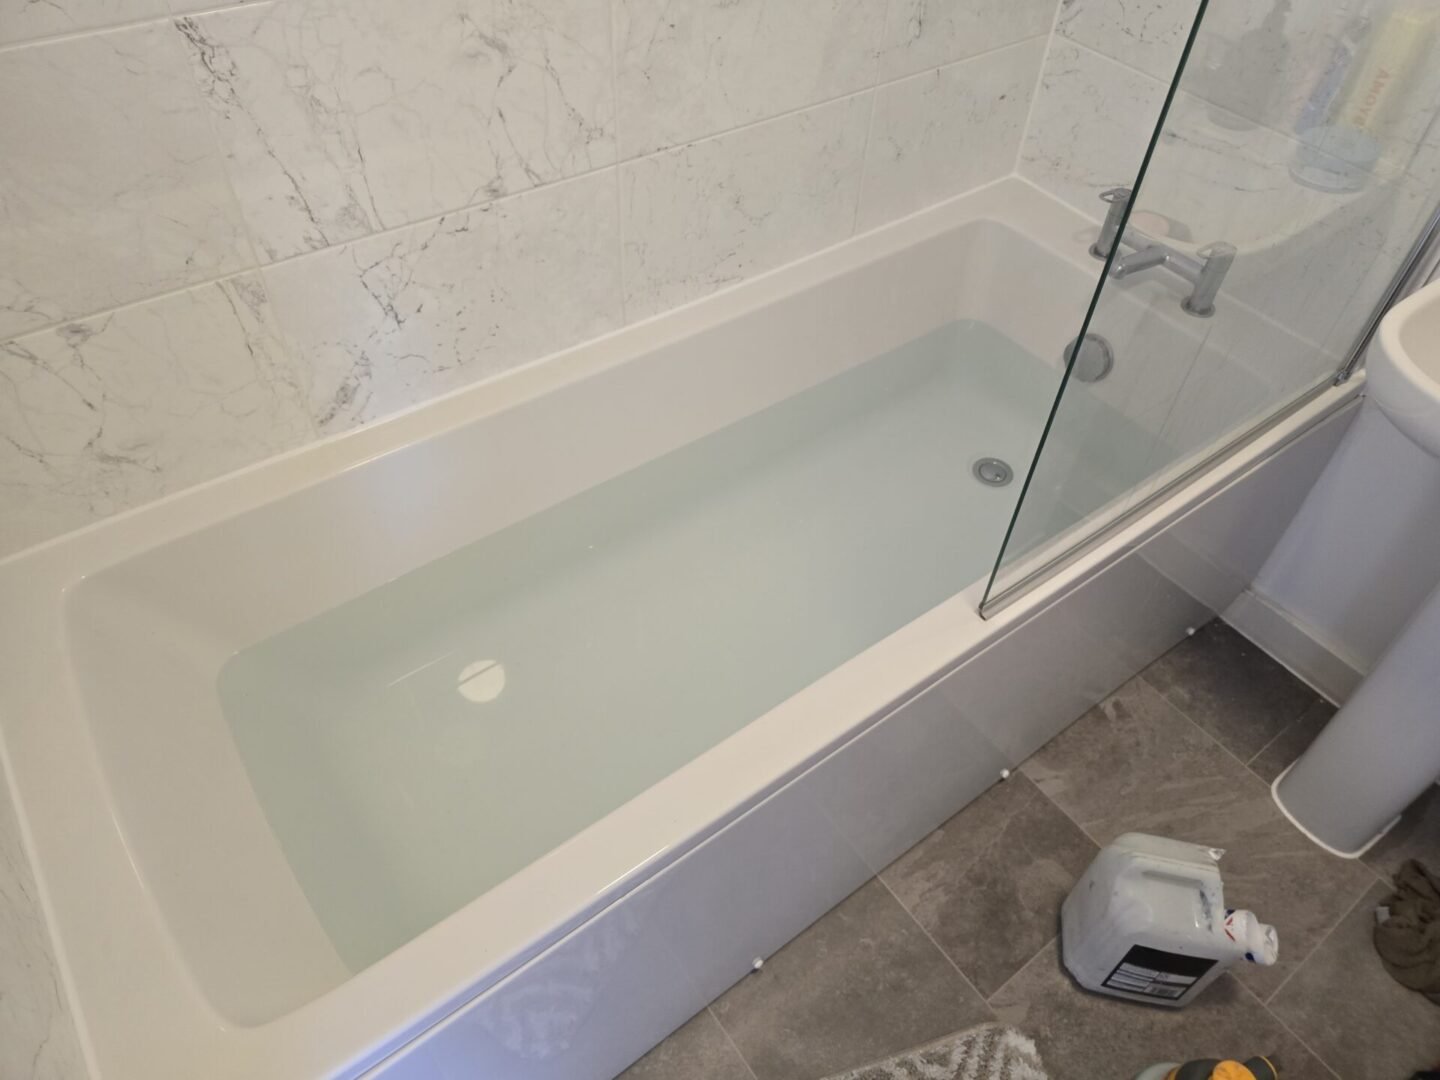
This is a common question, particularly with acrylic baths.
The reason people discuss filling the bath is simple: weight can cause the bath to move slightly.
If silicone is applied while the bath is in one position and the bath subsequently drops or moves when someone gets in, that movement can put additional stress on the new seal.
The correct approach depends on the bath, its installation and the sealant being used. If you’re unsure, follow the sealant manufacturer’s instructions and consider how the bath behaves under normal use.
The important point is that the bath needs to be properly supported and stable. Simply applying silicone to a bath that moves excessively isn’t a reliable long-term solution.
Common Bath Resealing Mistakes
A new seal can fail surprisingly quickly if the preparation isn’t right.
Applying Silicone Over Old Silicone
This is one of the most common mistakes.
New silicone doesn’t reliably bond to old silicone, so covering an existing bead usually isn’t a proper replacement.
Sealing a Damp Surface
The surfaces need to be clean and dry. Applying silicone while moisture remains present can affect adhesion.
Using the Wrong Product
Not every sealant is designed for bathrooms. Choose a product intended for sanitary or wet-area applications and make sure it’s compatible with the surfaces involved.
Applying Too Much Silicone
A larger bead isn’t necessarily a better seal. Excessive silicone can be difficult to tool and can leave a messy finish.
Rushing the Curing Process
Even if the silicone feels dry on the surface, it may not have fully cured underneath.
Using the bath too soon can compromise the new joint.
How Long Does Bath Silicone Last?
There isn’t one fixed lifespan for every bath seal.
A properly prepared and applied joint can last for years, but the actual lifespan depends on factors such as:
- How frequently the bath is used
- How much movement the bath has
- Exposure to water and cleaning products
- Surface preparation
- Sealant quality
- The quality of the original application
If the silicone has started deteriorating, replacing it before significant water ingress occurs is generally preferable to waiting for the joint to fail completely.
You can learn more in how long does silicone sealant last.
Can You Reseal a Bath Without Removing the Old Silicone?
In most cases, removing the old silicone is the better approach.
Even if part of the existing seal appears to be in good condition, the new silicone needs a clean, suitable surface to bond to. Old sealant can contain contamination or areas of hidden failure that aren’t immediately obvious.
If you’re considering applying new silicone over an existing bead, read can you apply new silicone over old sealant before starting.
When Should You Call a Professional?
Resealing a straightforward bath is something an experienced DIYer may be able to tackle. However, there are situations where replacing the silicone isn’t the whole answer.
Consider getting professional help if:
- The bath moves significantly
- Water is already getting behind the seal
- There are signs of damp or water damage
- The surrounding tiles or surfaces are damaged
- Previous sealant repairs have repeatedly failed
- You need a particularly clean or precise finish
- The work forms part of a larger refurbishment
A professional can assess the condition of the existing joint and surrounding area rather than simply covering the visible problem.
Professional Bathroom Resealing
A neat silicone joint can completely change the appearance of a bathroom, but the real purpose of the seal is to keep water where it belongs.
If your bath sealant is cracked, mouldy, peeling away or repeatedly failing, ROSEAL provides professional bathroom resealing for homeowners, landlords and property professionals.
If you’d rather leave the preparation and application to an experienced professional, contact ROSEAL to discuss your requirements and arrange a quotation.