Why Waterproofing with Silicone Sealant is Essential in Wet Rooms
Wet rooms are areas that are fully exposed to water, so proper waterproofing is essential to avoid long-term damage to floors, walls, and fittings. Silicone sealant is the perfect solution for this. Its flexibility and waterproofing properties make it the go-to product for creating a protective barrier against water, preventing leaks and mould growth.
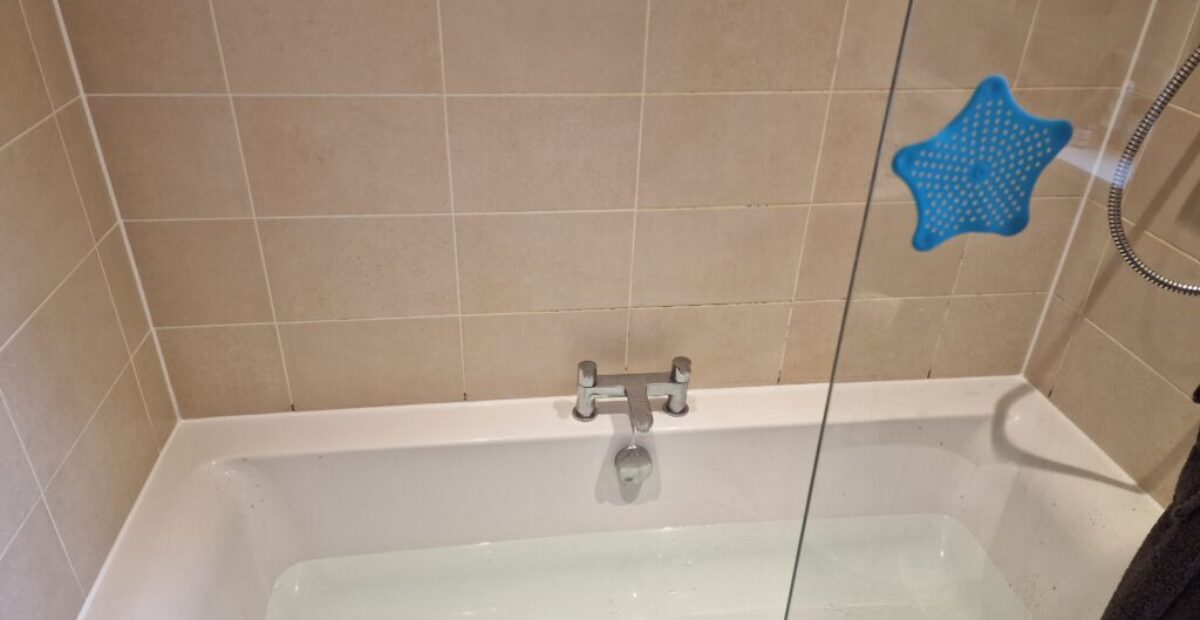
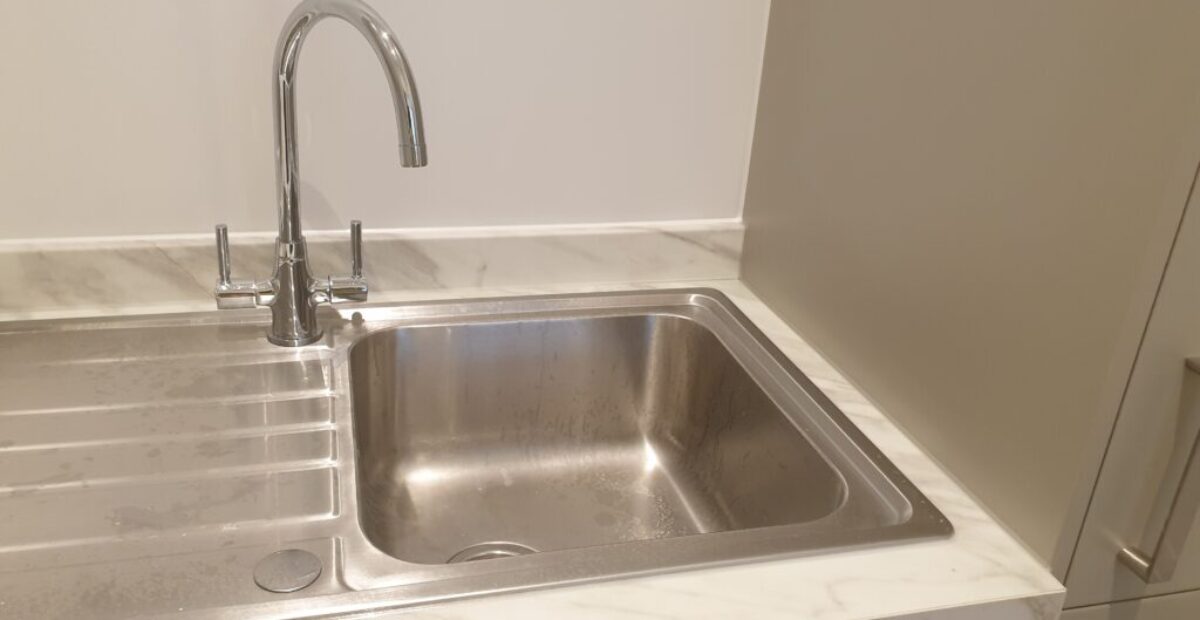
In a typical wet room, silicone sealant is used to seal joints around showers, sinks, bathtubs, and between tiles. It ensures that water doesn’t seep into the structural elements of your bathroom, which could lead to costly repairs if left unchecked.
Choosing the Best Silicone Sealant for Your Wet Room
When choosing silicone sealant for a wet room, there are a few factors to keep in mind:
-
Waterproofing and Flexibility
It’s crucial to choose a sealant specifically designed for wet environments. Opt for a high-quality silicone that is 100% waterproof and can expand and contract without cracking, as wet rooms experience constant changes in temperature and moisture levels.
-
Mould and Mildew Resistance
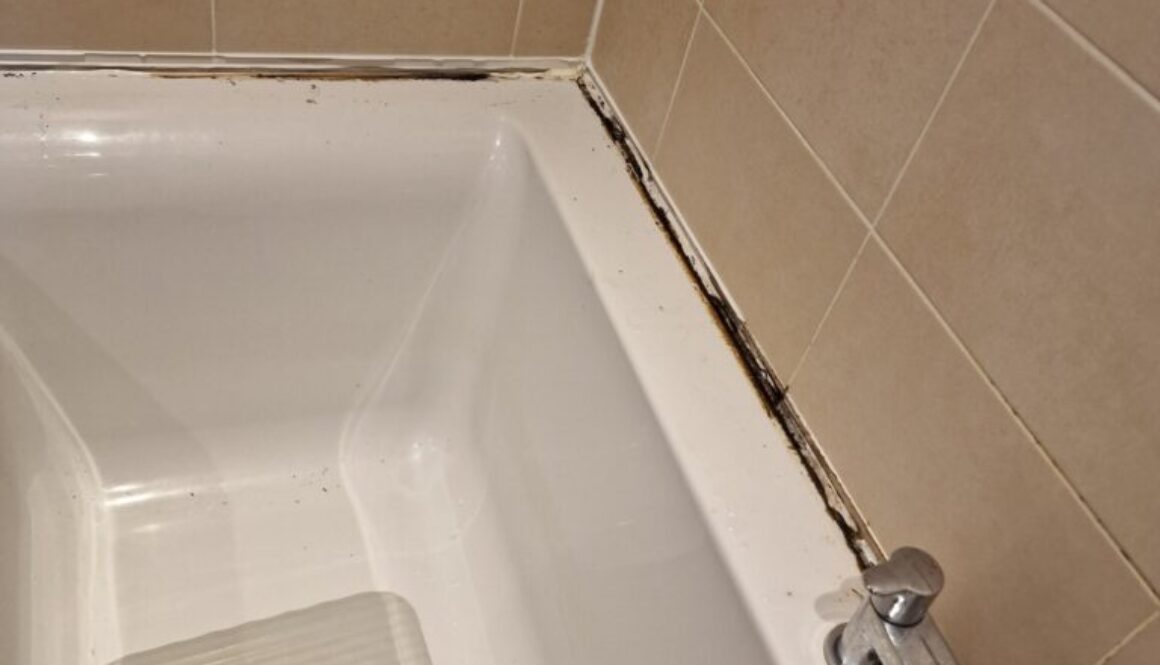
Wet rooms, particularly around showers, are prone to mould and mildew growth due to high humidity. Look for silicone sealants that are mould-resistant or contain antimicrobial agents to help keep your space clean and healthy.
-
Durability and Longevity
Choose a sealant that promises long-lasting performance. Some sealants come with a longer lifespan, reducing the need for frequent reapplications and ensuring that your wet room remains watertight for years.
-
Colour Match
Silicone sealants come in various colours. Ensure that the sealant you select complements your wet room’s tiles or surfaces, providing a clean, professional finish.
How to Apply Silicone Sealant for a Long-Lasting Waterproof Seal
Applying silicone sealant correctly is essential to achieving a durable and effective waterproof seal. Here are the steps to ensure a long-lasting finish:
1. Preparation is Key
Before applying silicone, ensure that the surfaces are clean, dry, and free from any old sealant, dust, or grease. Use a cleaning solution to remove any soap scum or grime. If there is any previous sealant, use a scraper or silicone remover to clean the area thoroughly.
2. Use the Right Tools
To achieve a smooth, professional finish, use a sealant gun to apply the silicone. A caulking tool or a damp finger can help smooth the sealant along the joints. Ensure you apply the sealant evenly and in a continuous motion to avoid gaps or bubbles.
3. Apply the Sealant
Load the silicone into the gun and begin applying it to the joint or seam. Start from one end and work your way to the other, keeping the nozzle at a consistent angle. Be careful not to over-apply, as excess sealant can result in messy joints.
4. Smooth and Shape the Sealant
Once the silicone is applied, use a damp finger or a silicone finishing tool to smooth the sealant along the joint. This helps to remove any excess and ensures a clean, neat finish. Be sure to wipe off any excess silicone with a damp cloth before it cures.
5. Allow for Curing
Silicone sealant needs time to cure properly. While it may feel dry to the touch within a few hours, it’s best to wait at least 24 hours before exposing it to water. Be sure to read the manufacturer’s instructions for curing times specific to the product you are using.